Worm Bin
Definition
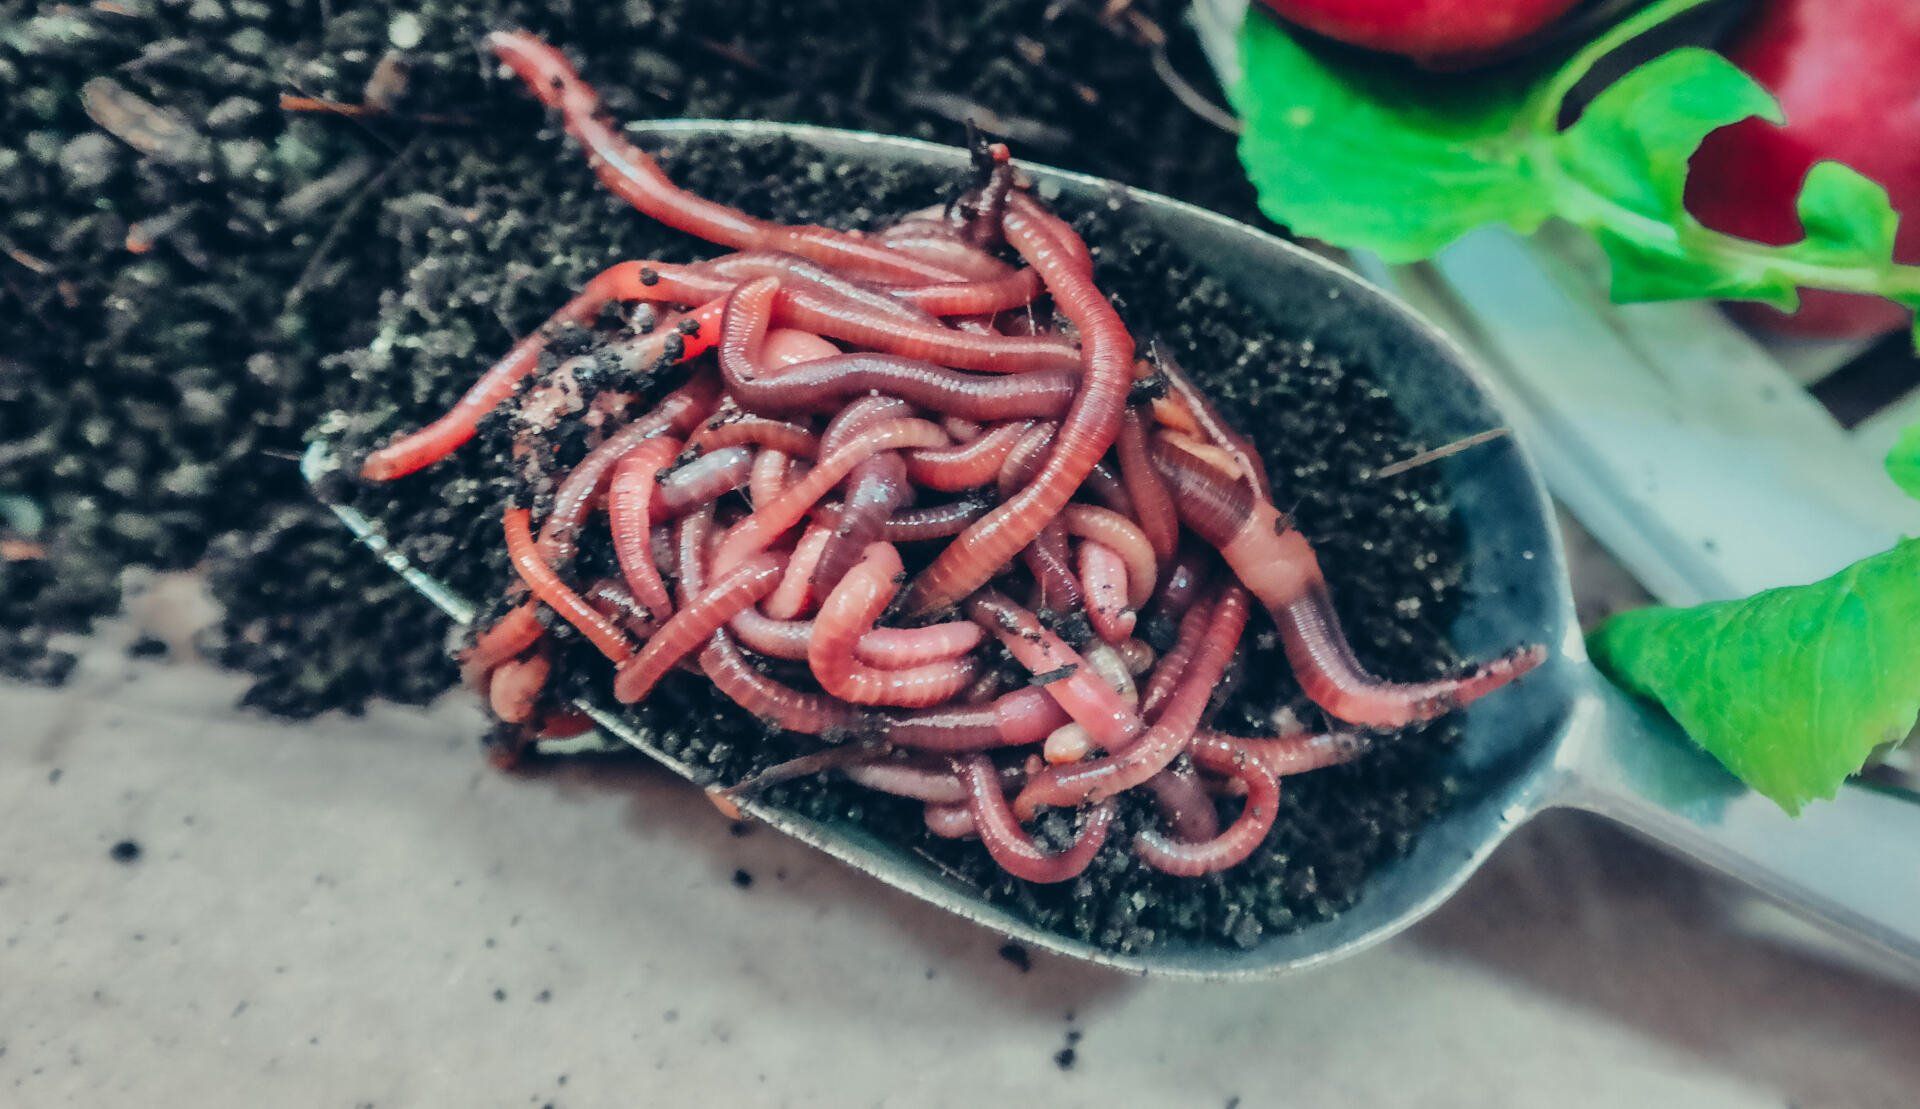
A worm bin is a container or system set up to raise composting worms and produce vermicompost, ranging from a simple homemade tote with drilled holes to a purpose-built multi-tray commercial system. It's what makes worm composting practical at home or small-scale, without needing an outdoor pasture or farm setup.

Sources: Oregon State University Extension (EM 9034), Washington State University Extension, University of Maryland Extension (HG40), via Maryland Dept. of Agriculture
Why It Matters
A worm bin makes vermicomposting accessible to anyone with a small amount of indoor or outdoor space, turning household food scraps into finished castings without requiring the acreage or equipment a larger operation would need, a genuine entry point for home gardeners into biological soil practices.
How It Works
Bedding material, moisture, food scraps, and a starter population of composting worms are combined inside a container designed with enough airflow and drainage to keep conditions comfortable for the worms, who then process incoming food waste into finished castings over the following weeks and months.
Benefits
- Recycles household food scraps
- Produces finished castings on-site
- A hands-on way to learn vermicomposting
- Compact enough for indoor or small outdoor spaces
Sources: U.S. EPA – Composting at Home, U.S. EPA – Approaches to Composting
How to Set Up a Worm Bin
The container matters less than getting airflow, drainage, and light control right, whatever type you choose.
Choose an Opaque Container
Avoid clear or translucent bins. Worms are highly light-sensitive.
Drill Drainage & Ventilation
Add holes in the bottom for drainage and in the sides or lid for airflow — inadequate airflow can lead to a sour, failing bin.
Keep Depth Shallow
Aim for about 12 inches or less. Surface area matters more than depth, since composting worms live and feed near the top few inches.
Pick a Stable Location
Choose a spot with steady temperatures, away from direct sun, heaters, or AC vents — under a sink, in a laundry room, or a shaded corner all work well.
Sources: Oregon State University Extension (EM 9034), University of Maryland Extension (HG40), via Maryland Dept. of Agriculture, U.S. EPA – Composting at Home
DIY Tote (Batch) vs. Stacking-Tray vs. Continuous Flow-Through
All three raise worms and produce castings — the difference is mainly how you harvest and how much hands-on effort that takes.
| DIY Tote (Batch) | Stacking-Tray | Continuous Flow-Through (CFT) | |
|---|---|---|---|
| Setup cost | Lowest — a plastic tote and a drill | Moderate — commercial systems or DIY multi-tray builds | Higher — more materials or a purchased unit |
| Harvesting method | Hand-sorting worms from finished castings — messy, takes hours | Worms migrate upward toward fresh food; bottom tray harvested when ready | Finished castings scraped out from an open bottom while worms stay up top |
| Harvest frequency | Every 6 months to a year, all at once | Bottom tray roughly every 3–4 months | More continuous, ongoing harvesting |
| Space needs | Compact, works well indoors | Compact, stacks vertically, works well indoors | Bedding stays shallow, but the raised frame needs extra height plus room for a harvest tray underneath |
| Best for | Beginners testing the waters with minimal investment | Most home users wanting an easier harvest than a batch bin | Larger volumes or growers who want minimal ongoing hand-sorting |
Sources: Oregon State University Extension (EM 9034), Washington State University Extension, University of Maryland Extension (HG40), via Maryland Dept. of Agriculture, NC State Extension (Sherman), Raising Earthworms Successfully
Common Mistakes to Avoid
Most worm bin problems trace back to a handful of setup and maintenance habits.
Sources: Oregon State University Extension (EM 9034), U.S. EPA – Composting at Home, University of Maryland Extension (HG40), via Maryland Dept. of Agriculture
Frequently Asked Questions
What is a worm bin? +
What size worm bin do I need? +
What's the difference between worm bin types? +
Where should I put my worm bin? +
Does a worm bin smell bad? +
Can I build my own worm bin? +
When do I know it's time to harvest? +
How does a worm bin differ from a floating worm bed or worm pasture? +
A well-started worm bin becomes a small living soil factory — the container matters less than the airflow, drainage, and stable conditions inside it.